Learn how to freeze green beans from your garden or the farmers market. You’ll enjoy the fresh taste all year long!
I took up gardening a few years ago. You’d think that being married to a farmer and dabbling in some field time myself would make me a natural fit for growing green things and keeping them alive.
Ummm, not so. Ask my house plants, may they rest in peace.
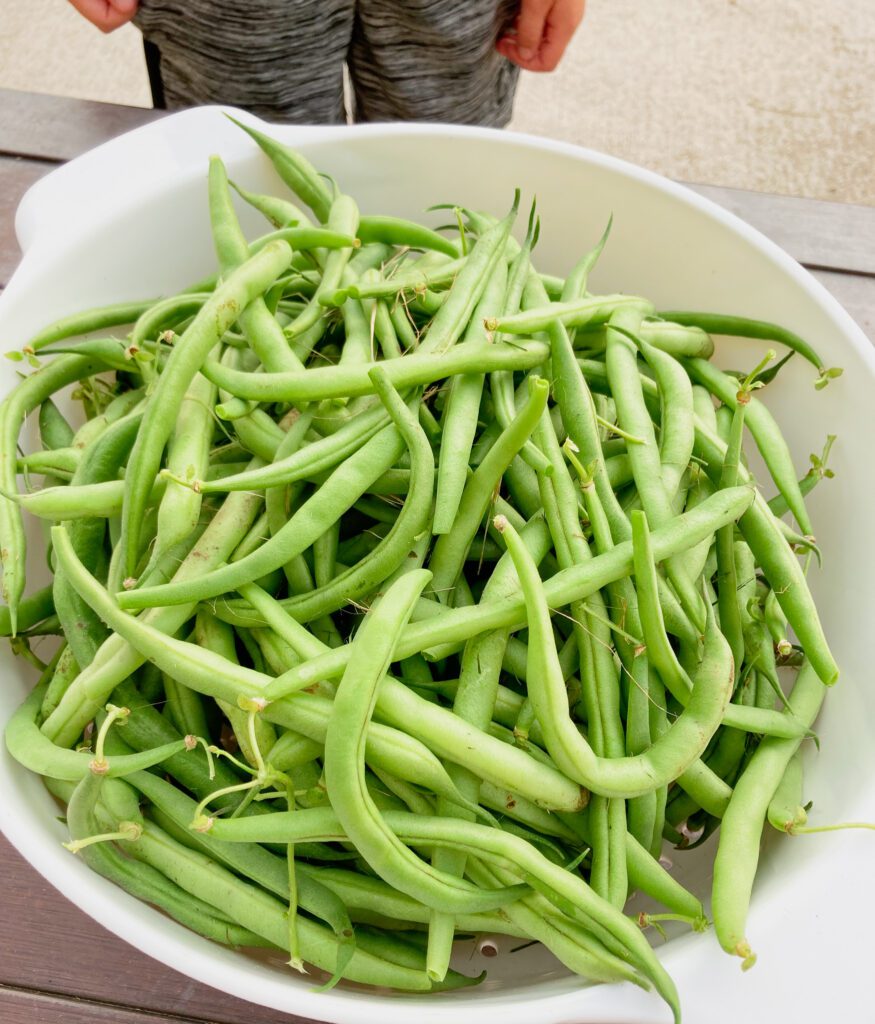
But with my trusty Square Foot Gardening book by my side and some garden savvy friends I hit up when questions arise, my garden is actually growing food!
It still blows my mind.
Can I Freeze Green Beans?
Of course! It’s easy to do and I think you’ll like it!
There are lots of foods you can freeze, and green beans freeze really well without a lot of fuss. There perfect for a side dish or adding some into an easy hamburger vegetable soup.
This year I planted two varieties of bush green beans. It didn’t occur to me to stagger their planting and I planted them alllll at the same time.
Rookie mistake, right?!?
Well, we left on vacation for a week and while we were gone, I discovered something.
I am really, really good at raising green beans. Like, the beans all had a massive party while they were home alone and shenanigans ensued.
They reproduced. A lot. We're talking like rabbits.
So once we got home, the car was unpacked and I had a chance to catch my breath, I began picking green beans.
Take it from me...If you’re picking green beans from your garden, be sure to harvest them before they become too large, which will make them tough.
I had to discard some beans which had become too large and became tough.
No worries, though! There were plenty to keep, because remember - I planted them all at the same time!
Green beans for dayyyyyyyyyys!

How to store green beans before freezing
Picking green beans is the easy part. I just put them into a large bowl and pop them in the fridge.
They’ll keep there for up to three days, at which time you should either cook and eat them, or preserve them in some way.
Sidenote: don’t rinse the beans before refrigerating. They’ll go bad quickly from the moisture.
Ok, so by some freak of nature, we've grown our beans, and now we've picked them.
Once you’ve picked green beans and you’re ready to freeze your beans, give them a rinse.
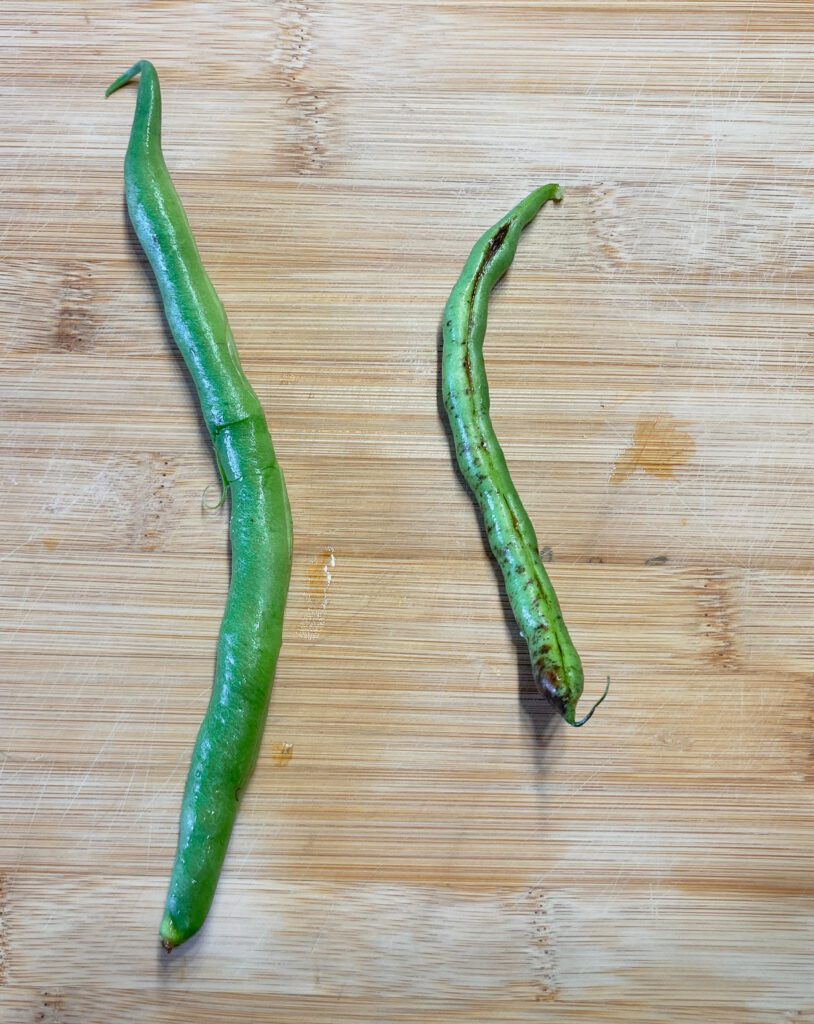
Discard any large, bulging green beans before preparing them for freezing. I think there's something you can do with shelling these large beans, but I had enough on my plate, you know?
Also, get rid of any majorly blemished green beans. See exhibit A and B below.
While you're discarding, it's a great time to pull any bits of grass that are stuck to your green beans. Because whoever mowed the lawn threw grass into the garden on its way by. Repeatedly.
Hey, it happens, and I'm not complaining or the lawn mowing will be my job. So throw away the grass blades.
Okay, here’s where preserving green beans gets controversial. I know you're thinking, "vegetables are controversial?" Well, maybe....
It’s all about the sensitive subject of….blanching!
What is blanching?
I’ve seen some debate about how to freeze fresh green beans without blanching.
Blanching simply means immersing the green beans in boiling water for a quick time.
There’s a shortcut method, where some people like to freeze their green beans without blanching them as a time saving method.
That's totally fine, there's no judgement here.
And then there’s the other method, which I’ll call the "traditional" method what involves the added step of boiling the beans for a few minutes as part of their preservation.
To make my decision on the “best” way to freeze green beans, I tested both methods.
And then I went the extra mile for a little nugget of garden wisdom. I did what any good farm wife did and turned to our University of Illinois Extension office.
I'm so thankful for resources like them!
Why blanch green beans before freezing?
According to the U of I Extension office, "unblanched vegetables quickly become tough and suffer huge nutrient and color loss. Vegetables naturally contain an active enzyme that causes deterioration of plant cells, even during freezing.
Blanching before freezing retards the enzyme activity.”
Well, I mentioned my green beans partied before. If they're gonna start producing enzymes, I'm team blanching all the way!!
So as for me and my garden, my preference is to take the time to blanch green beans before freezing.
Okay, back to how to freeze green beans. We’ve picked, we’ve rinsed, we’ve discarded any undesirables.
Next, use a paring knife to trim the end of the bean where it had attached to the plant. This is where the flower was and you may see a little remnant of it. Trim this part off.
You can leave the beans whole or cut them into one or two inch pieces like I’ve done below.
I happen to like the efficiency of a knife and a cutting board, but you can totally go old school and snap beans by hand on your front porch.
But the air conditioning in the house is kinda nice, don't you think?
As you're trimming the beans, there's really no reason to trim the “tail” of the bean unless it bothers you or picky eaters in your house.
Do what you've gotta do!
How to blanch
Bring a large pot of water to a boil. A 6 qt or 8 qt pot will probably do the trick unless you're making tons of green beans.
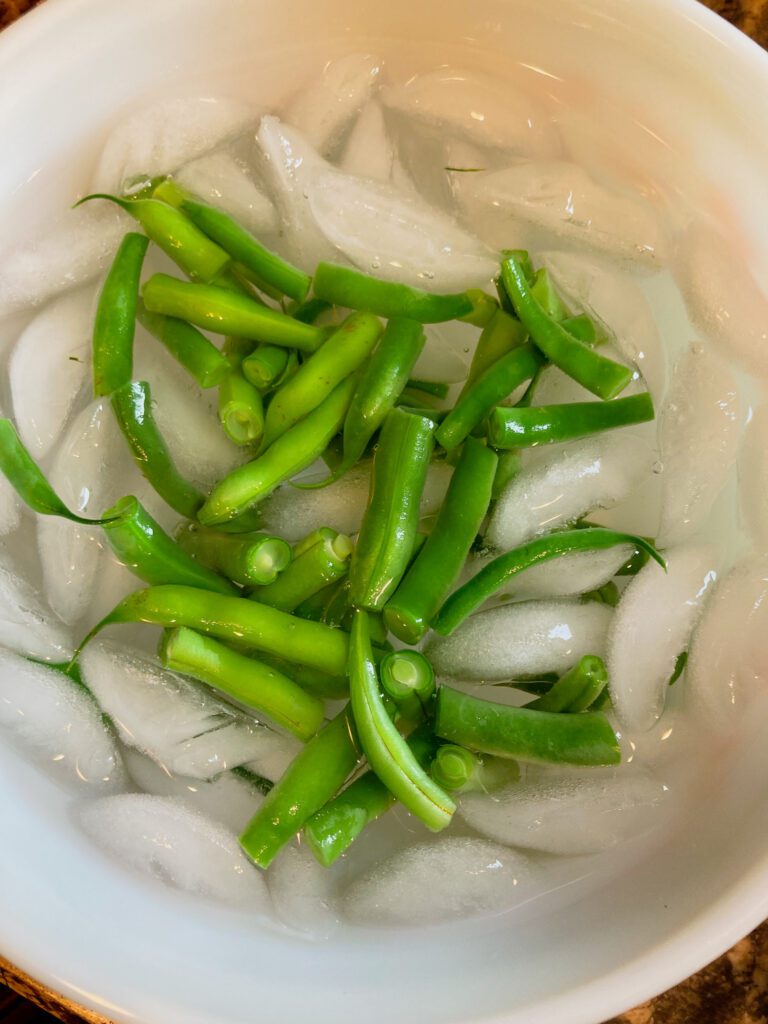
While that comes to a boil, fill a large bowl with ice cubes and water.
This is called an ice bath and is there to quickly “shock” the beans or stop the cooking when they come out of the boiling water.
Add the green beans to the boiling water, in batches if necessary. Immerse them, continuing to boil, for 3-4 minutes until they begin to turn a bright green color.
We don’t want to cook the beans entirely, we're just giving them a quick perk up.
Use a slotted spoon to remove the green beans and transfer into your ice cold water. Allow them to cool in the pool for about 15 minutes, adding extra ice if necessary.
Once the beans have cooled, drain the ice water and spread the green beans on a clean kitchen dish towel to briefly dry or if you’d like to speed things along, you can give them a ride in your salad spinner to remove water.
How to Freeze Green Beans
If you don’t want to have clumps of green beans in your freezer, then let’s go one step further. It's worth it, in my opinion!
Once most of the moisture is gone from the beans, transfer them to a parchment or waxed paper lined rimmed baking sheet.
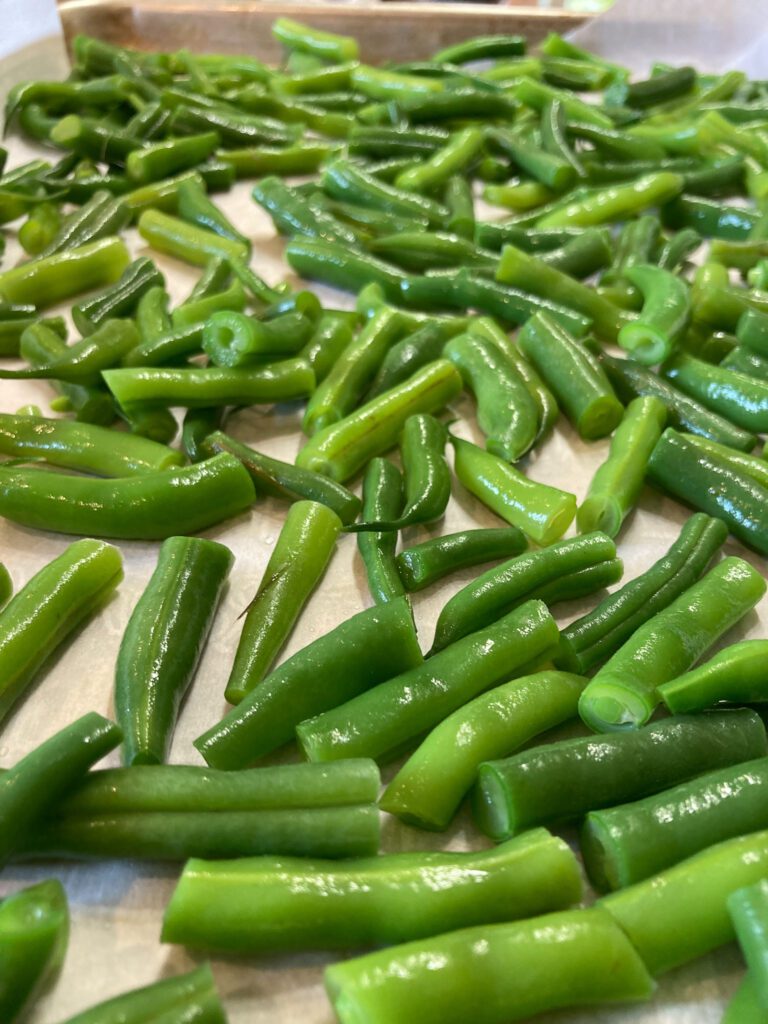
Spread the green beans into a single layer and pop them into your freezer for an hour or two until they’re frozen.
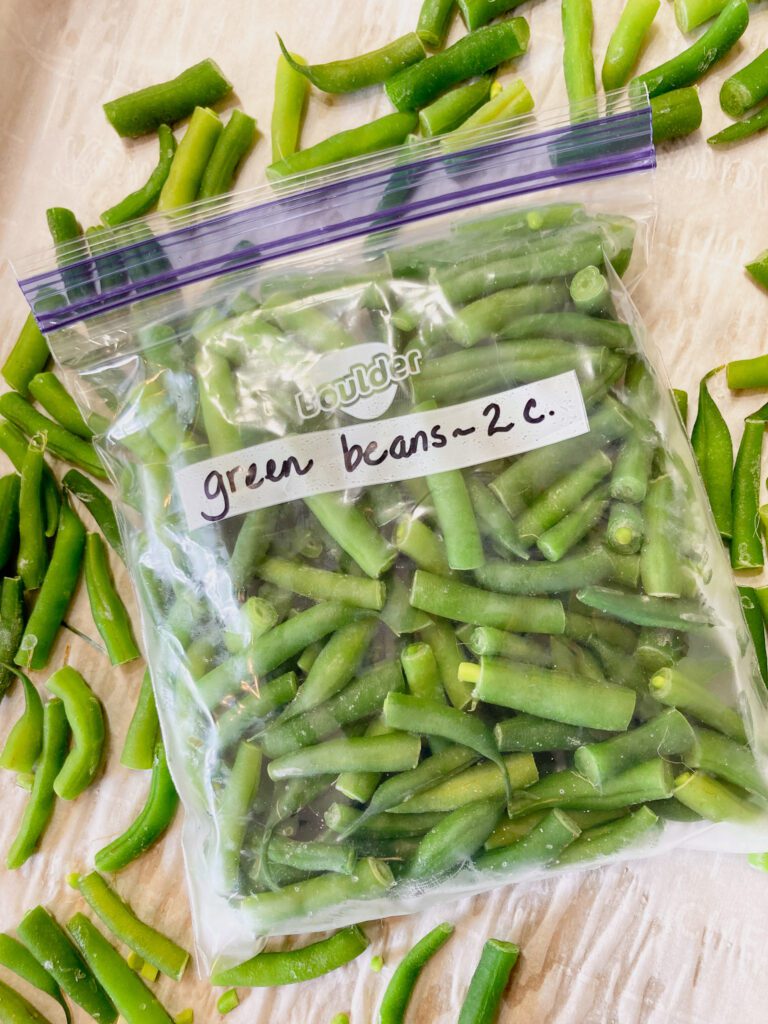
Transfer the frozen green beans into labeled zip top freezer bags. I like to portion my green beans into serving sizes, like two cup servings.
Be sure to remove as much air from the bag as you can, I simply press out the excess air by folding the bag over as I seal it.
I’ve heard of using a straw to suck out the air, too but I don’t go to that extreme!
Removing as much air from the bag as possible will prevent freezer burn and keep our green beans fresh for as long as possible.
How to Store Green Beans
Store green beans, sealed in your freezer.
How long do frozen green beans last?
I recommend using green beans within 1 year. If you can eat them earlier than that, it’s probably even better.
Recipes using frozen green beans:
- Marinated Green Bean Salad
- No Mushroom Green Bean Casserole
- Asparagus & Green Bean Salad
- Pork Tenderloin Sheet Pan Dinner
Freezing green beans is actually a really rewarding way to capture the taste of summertime all year long.
Other foods to freeze:
And if I’m being honest, when I preserve any kind of food it makes me think of my grandparents, and that’s a pretty sweet thing.

How to Freeze Green Beans
Ingredients
- 8 cups fresh green beans
Instructions
- Rinse green beens in a strainer. Discard any overly large or blemished beans.
- Use a paring knife to trim the attached end from the beans. The tail of the bean can remain.
- You can keep beans whole or cut them into one or two inch pieces.
- Bring a large pot of water to a boil. A 6 qt or 8 qt pot will probably do the trick unless you're making tons of green beans. While that comes to a boil, fill a large bowl with ice cubes and water.
- Add the green beans to the boiling water, in batches if necessary. Immerse them, continuing to boil, for 3-4 minutes until they begin to turn a bright green color.
- Use a slotted spoon to remove the green beans and transfer into your ice cold water. Allow them to cool in the pool for about 15 minutes, adding extra ice if necessary.
- Once the beans have cooled, drain the ice water and spread the green beans on a clean kitchen dish towel to briefly dry or if you’d like to speed things along, you can give them a ride in your salad spinner to remove water.
- Once most of the moisture is gone from the beans, transfer them to a parchment or waxed paper lined rimmed baking sheet. Spread the green beans into a single layer and pop them into your freezer for an hour or two until they’re frozen.
- Transfer the frozen green beans into labeled zip top freezer bags. I like to portion my green beans into serving sizes, like two cup servings. Remove as much much excess air as possible to prevent freezer burn.
Freeze for 9-12 months.



Leave a Reply