This post contains affiliate links.
It’s easy to make this Instant Pot Mongolian Beef recipe in just around 30 minutes. A rich, sweet, garlic and ginger infused brown sauce coats tender and juicy strips of beef. Enjoy the taste of takeout at home!
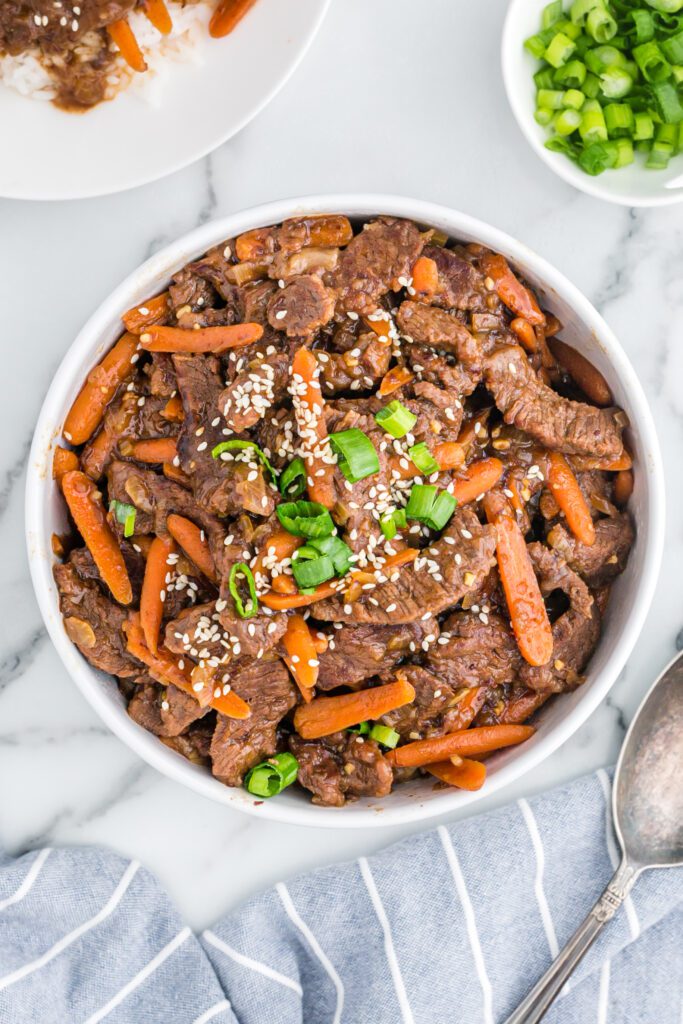
One of my go-to dishes when we visit Chinese restaurants like PF Chang's is Mongolian Beef. I love it because it is tender beef, cut into thin slices, then cooked quickly and tossed in a flavorful sauce along with fresh vegetables. And
But, if you were to walk out my front door and look around, you’d see land, corn and beans for miles but not a takeout joint is in site.
Lots and lots of corn but no Chinese takeout for miles.
So we’re getting crafty here and making this classic Asian dish at home.
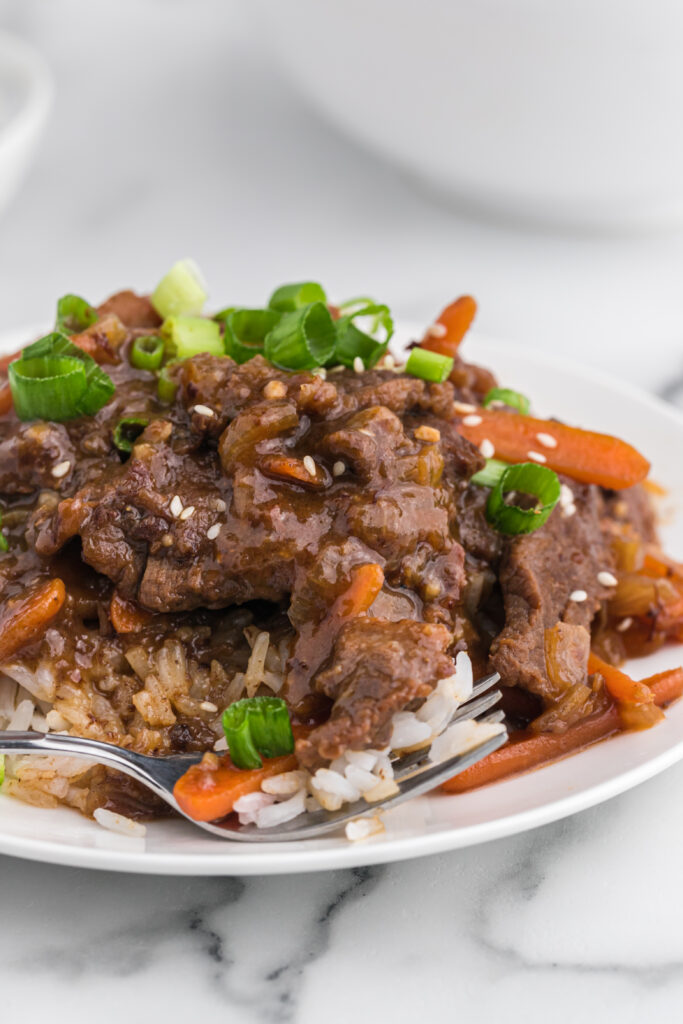
Why I love Making Mongolian Beef at home
If you have a family, you’re gonna want to pay attention to this recipe!
- It has enough complex flavors to please an adult palette, while the Mongolian sauce has a sweetness that the kiddos will enjoy.
- There are plenty of variations you can incorporate to make this recipe your own. Need a gluten free recipe? Use tamari. Watching sodium? Use low sodium soy sauce! Use a lot of spice or a little spice. One of the best things about it is that you can make it however your family likes it.
- Simple ingredients mean you probably have everything you need at home.
- It’s delicious. Like, really, really good!
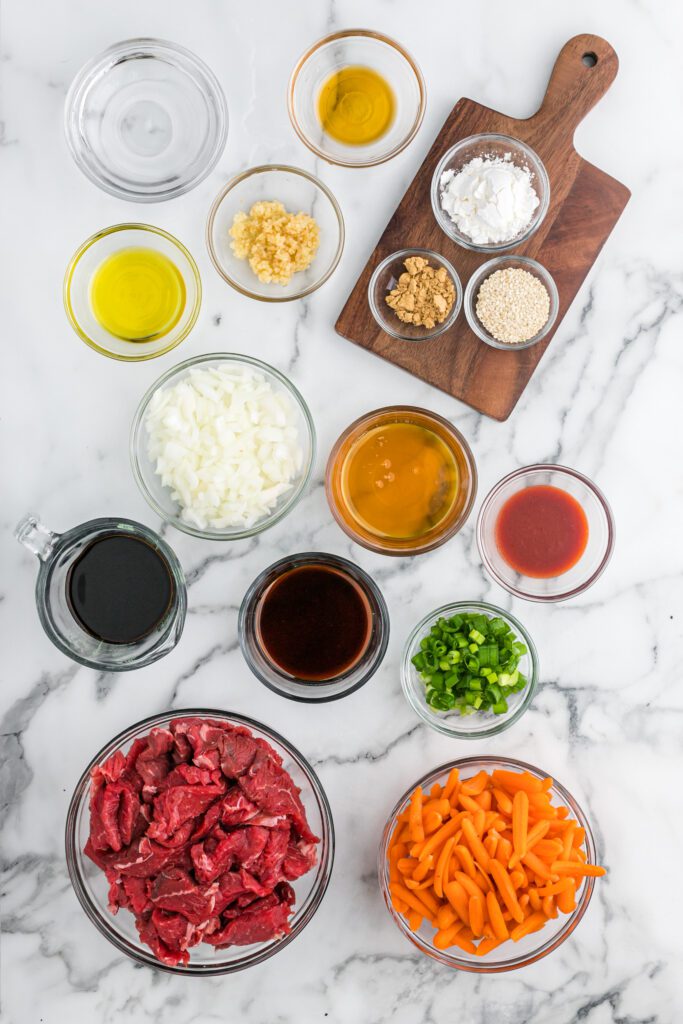
Ingredients
These are all ingredients you can find at your average grocery store. Together, they give incredible flavor to this healthy recipe.
- Sirloin steak – many recipes I’ve seen call for flank steak, and that’s great it you want to pick it up at the grocery store or it’s your favorite cut of meat. We happen to have a freezer full of beef all year round and two cuts we have frequent access to are sirloin steak and round steak. So for us cattle raising farm folks, these cuts make sense!
- Corn starch – for thickening
- Olive oil – to keep things from sticking too much
- Vegetables – onion and carrots add flavor, color and texture. I like using baby carrots because they’re already peeled but regular sliced carrots can be used, too.
- Garlic and Ginger – Garlic is a must here! I use ground ginger because I have it in my spice cabinet. If you’d prefer to use fresh garlic, about a teaspoon should work great.
- Sriracha Sauce – this sauce gives a nice hint of heat. Even if you don’t love spice, you won’t know it’s there if you use only a tablespoon.
- Sesame Oil – adds a nutty flavor
- Soy Sauce – as I mentioned above, you can adapt this recipe however you like for your family! Use soy sauce or a counterpart such as tamari or coconut aminos for a salty flavor. Ever heard of umami? It adds the meaty, savory flavor that fulfills that requirement, too!
- Honey and Maple Syrup – for a healthier, non-refined sugar. You could use a half cup brown sugar for part of this, but these add such a nice flavor profile!
- Green onions and sesame seed – for texture, color and garnish
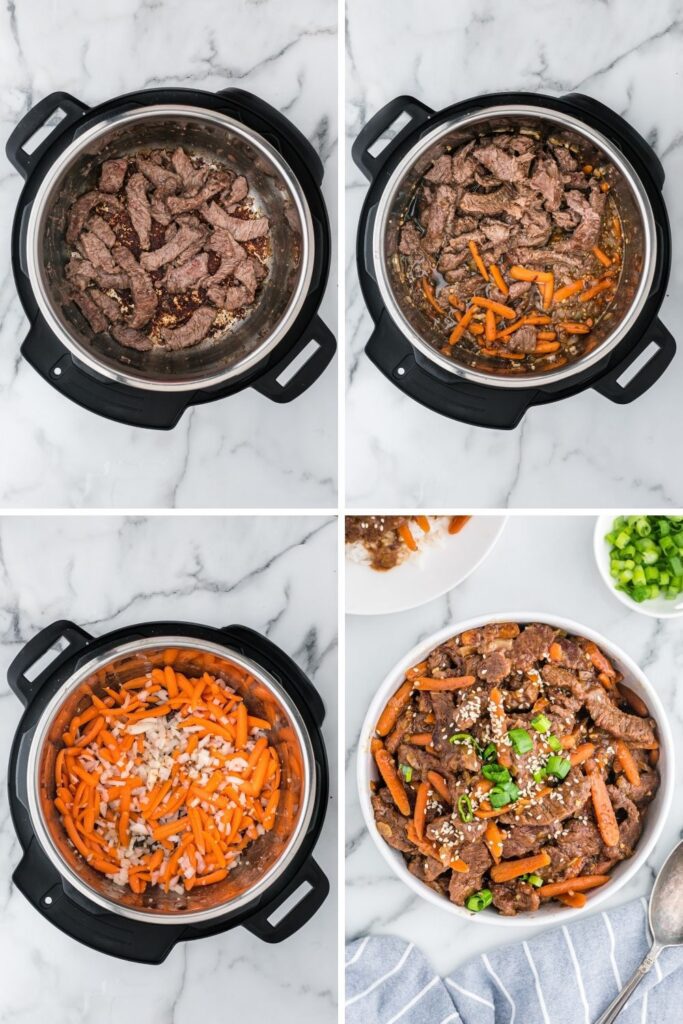
Instructions:
To make this easy Instant Pot Mongolian Beef:
Step 1: Slice beef thinly and place in a bowl. Add cornstarch and toss to lightly coat.
Step 2: Mix ingredients for the sauce: in a medium sized bowl add the Sriracha sauce, sesame oil, soy sauce, water, honey and maple syrup. Stir to combine. Set aside.
Step 3: Add one tablespoon of olive oil to your Instant Pot and brown the meat. Select “Sauté” Once the display reads “hot,” add the beef to brown on both sides, approximately 3 minutes per side. You may want to work the beef in two batches. Add a little drizzle of extra oil if the meat begins to stick. (If it sticks just a little, don’t worry, we’ll get it off in another step)
Step 4: Add vegetables. Once the beef is browned, remove it to a plate and set aside. Add an additional tablespoon of olive oil to the Instant Pot. Add the onion, carrots, ginger, and garlic, and cook, stirring continually to loosen bits on the bottom of the pot for 2-3 minutes.
Step 5: Cook in your pressure cooker. Return the beef to the Instant Pot. Add the prepared sauce and stir to combine. Add the lid and set pressure valve to “Seal”. Adjust pressure cook time to 6 minutes.
When finished cooking, allow pressure to naturally release for 10 minutes, and then do a quick release for the remaining pressure.
To Make in the Slow Cooker:
Slice beef thinly and place in a bowl. Add cornstarch and toss to lightly coat. Add remaining ingredients to the slow cooker. Cook for 6-7 hours or until meat is cooked through and tender.
That’s it!
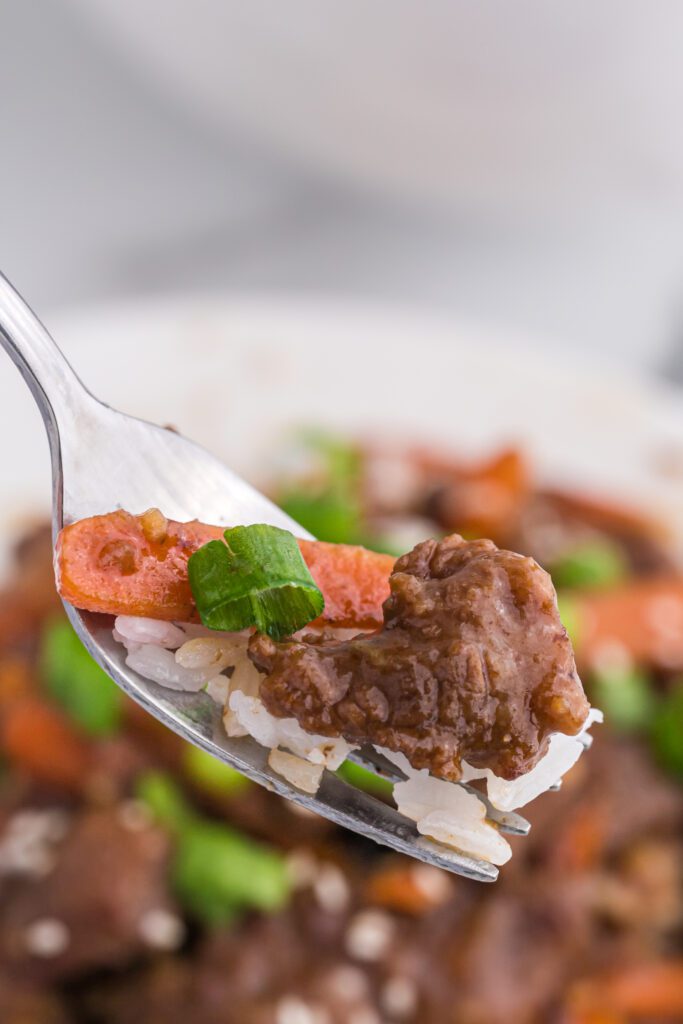
FAQS
How spicy is Mongolian beef?
Actually, it's not very spicy and a little sweet - at least in my recipe! If you like spicy Mongolian Beef, add red pepper flakes when cooking the rest of the ingredients. Start with a half teaspoon and go up to a teaspoon if you love a good bite!
Is Mongolian beef gluten free?
This version is!
What cut of beef should I use?
The recipe as written uses sirloin steak, which is more economical than a ribeye or New York Strip.
Because we're cooking this recipe under pressure, you don't need an expensive cut of meat. The pressure cooking process will tenderize the cooked beef for you, so a round steak could be used as well.
Can I make this in the slow cooker?
Yes, you can! Slice beef thinly and place in a bowl. Add cornstarch and toss to lightly coat. Add remaining ingredients to the slow cooker. Cook for 6-7 hours or until meat is cooked through and tender.
What to serve with Mongolian beef
We love serving this over white rice or slow cooker brown rice. You can also serve Mongolian beef over noodles. The choice is yours!
The next time you make Instant Pot Mongolian Beef, drop a comment or review below. I’d love to hear from you!
Instant Pot Beef Recipes
Other Chinese Inspired Recipes to Try:
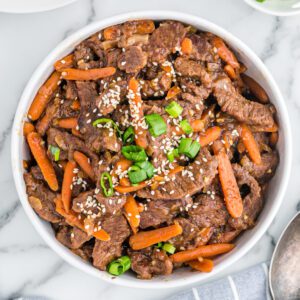
Instant Pot Mongolian Beef
Ingredients
- 1½ pounds sirloin steak sliced thin against the grain
- 2 Tablespoons cornstarch
- 2-3 Tablespoons extra virgin olive oil divided
- 1 small yellow onion diced
- 2 cups baby carrots cut in half lengthwise
- 1 teaspoon ground ginger
- 2 teaspoons minced garlic
- 1 Tablespoon Sriracha sauce more if you like spice
- 1 Tablespoons sesame oil
- ½ cup low sodium soy sauce
- ¾ cup warm water
- ¼ cup honey
- ¼ cup maple syrup
- 2 green onions sliced
- 1 Tablespoon sesame seeds toasted if you wish
- Rice for serving
Instructions
- Slice beef thinly and place in a bowl. Add cornstarch and toss to lightly coat.
- Mix ingredients for the sauce: in a medium sized bowl add the Sriracha sauce, sesame oil, soy sauce, water, honey and maple syrup. Stir to combine. Set aside.
- Add one tablespoon of olive oil to your Instant Pot and select the saute function. Once the display reads “hot,” add the beef to brown on both sides, approximately 3 minutes per side. You may want to work the beef in two batches. Add a little drizzle of extra oil if the meat begins to stick. (If it sticks just a little, don't worry, we'll get it off in another step)
- Once the beef is browned, transfer beef and set aside. Add an additional tablespoon of olive oil to the Instant Pot. Add the onion, carrots, ginger, and garlic, and cook, stirring continually to loosen bits on the bottom of the pot for 2-3 minutes.
- Return the browned steak to the Instant Pot. Add the prepared sauce and stir to combine. Add the lid, make sure the valve is set to the sealing position and set pressure valve to “Seal". Adjust pressure cook time to 6 minutes.
- When finished cooking, allow pressure to do a natural pressure release for 10 minutes, and then do a quick release for the remaining pressure.
Video
Notes
Nutrition
This post was originally published in October 2020 and was updated with enhanced photos and instructions in October 2022.



Jane Montgomery
We enjoyed the Mongolian Beef. I made it just as the recipe stated. My husband added red pepper flakes to give it a little more heat, but we both enjoyed it at our different heat levels. This recipe is definitely a keeper. Thank you!